
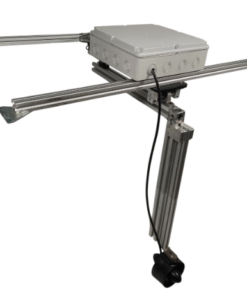
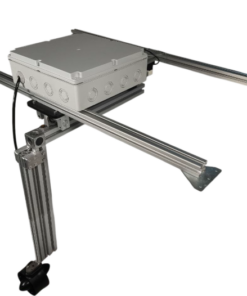
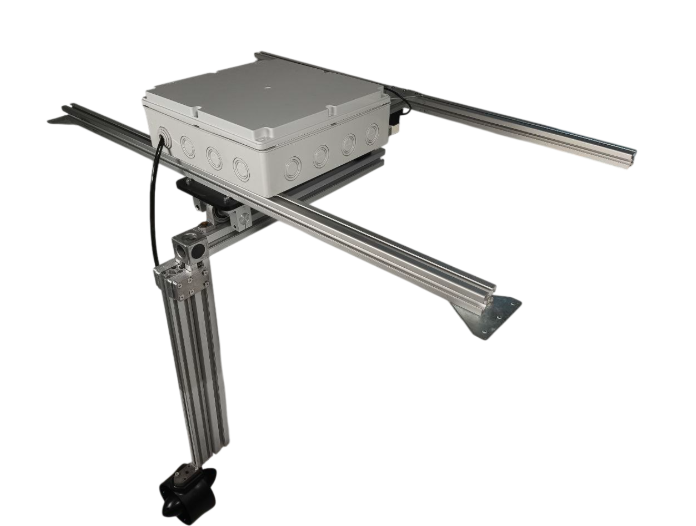
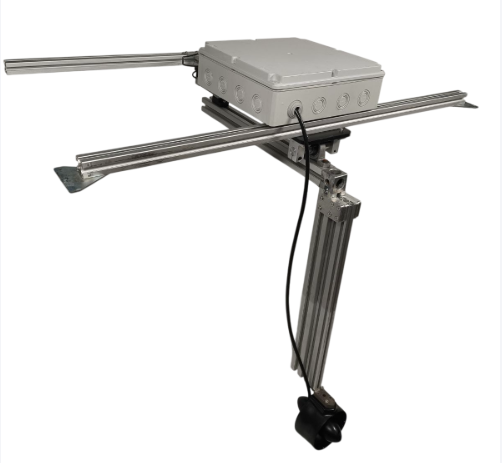
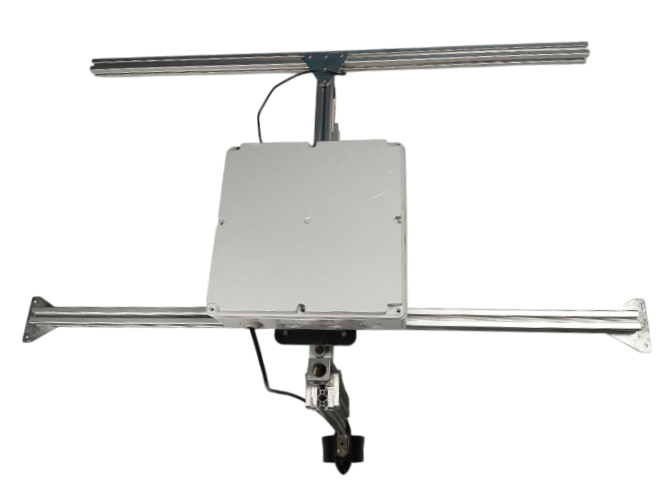
Professional Thrust Test Kit
Take your motor and propeller performance to the next level. Precise measurement, reliable testing, professional results. Wide range of applications, from drone manufacturing and R&D laboratories to RC modeling and educational institutions.
Thrust Test Kit
Measurement Accuracy
±0.1%
Measurement Accuracy
50 kgf
HX711 load cell
±0.1%
Mobile Control
Bluetooth
Take motor-propeller optimization to a professional level with advanced sensor technology .
Product Description
The Professional Thrust Test Kit is designed to optimize the performance of motor and propeller systems, which are at the heart of modern drone technology. With its RP2040 dual-core processor and high-precision HX711 load cell, it delivers industry-standard ±0.1% measurement accuracy. An advanced fail-safe system automatically protects your motor against overload and overheating, while Bluetooth 5.0 wireless connectivity allows you to remotely manage tests via a mobile app. The system simultaneously measures thrust, current, voltage, and power parameters. This professional system provides reliable and repeatable test results in every field, from UAV certification processes and academic research to competitive drone races and mass production quality control.
Technology Used
The system is designed to map the complete performance of your motor-propeller combination. It simultaneously measures thrust, current consumption, battery voltage, and power efficiency parameters, while advanced data analysis algorithms help you determine the optimum operating point. With programmable test scenarios, you can simulate real flight conditions by creating different PWM signals, acceleration ramps, and load profiles. Automatic test modes scan all performance curves of the motor, from full throttle to idle, in seconds, allowing you to determine the most efficient operating range and maximum thrust capacity. All data is visualized with high-resolution graphs and can be exported in CSV format.
How do I use it?
The test kit is easy to use in 3 simple steps: First, secure your motor to the test stand and connect the ESC and battery using the quick-connect connectors. Second, select or customize your test scenario from the mobile app: automatic full throttle test, gradual speed increase, or custom PWM signals. Finally, start the test and monitor the thrust test in real time. The system automatically stops and alerts you when the motor exceeds safety limits.
Test results are automatically saved, and you can analyze the performance of different motor-propeller combinations side-by-side using the comparison module. Advanced safety systems protect both your test device and motor by instantly intervening in cases of overcurrent, high temperature, and excessive thrust. All test data is stored in a secure cloud system, allowing for long-term performance monitoring and comparison.
Areas of Daily Use
Professional applications include 100% quality control in drone production lines, defense industry UAV engine validation tests, aerospace engineering courses and graduation projects at universities, customer consulting and performance comparison in RC model shops, engine collection optimization for hobbyists, and maker community projects. A specially developed training module for educational institutions enables students to learn engine technologies practically.
Competitions
In FPV drone races, RC model airplane and helicopter competitions, every millisecond provides a competitive advantage. With the Thrust Test Kit, you can optimize your motor-propeller combination based on data, leaving your competitors behind. By testing different propeller diameters (3-12 inches), pitch values (1-8 inches), and materials (carbon, plastic, aluminum), you can determine the most efficient combination. You can also analyze the impact of battery cell count (2S-12S) and capacity on performance to achieve optimum energy efficiency.
How to use the Thrust Test Mobile Application.
Step 1
When you open the app, you’ll see this home screen . To begin, you need to connect to your card via Bluetooth . To do this, tap the Bluetooth icon in the upper right corner of the screen.
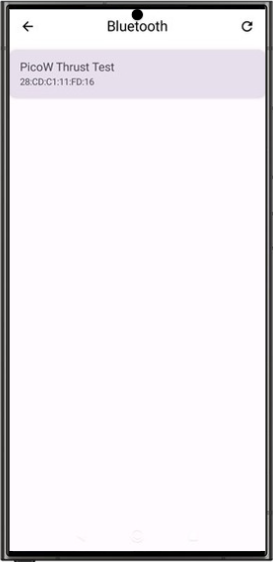
Step 2
Select the “PicoW Thrust Test” link you see on the screen . If it doesn’t appear in the list, you can repeat the scan using the button in the upper right corner .
Step 3
Once the connection is successfully established, you will be redirected back to the main screen , the test screen . Now, let’s move on to the thrust calibration screen .
Step 4
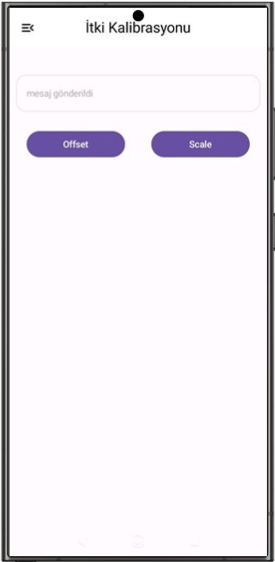
1. Preparation: On the thrust calibration screen, first ensure there is no weight on the mechanism. Position the mechanism perpendicular to the propeller loadcell .
2. Offset Setting: Then tap the “Offset” button . You will see a “message sent” notification on the screen indicating that the process was successful .
3. Scale Adjustment: Immediately after this step, press the “Scale” button .
Step 5
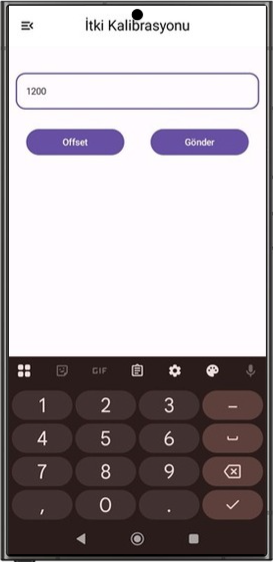
Initial Weight: Attach your initial weight perpendicular to the propeller . Enter the weight’s value in grams into the designated field on the screen and press the “Submit” button .
Step 6
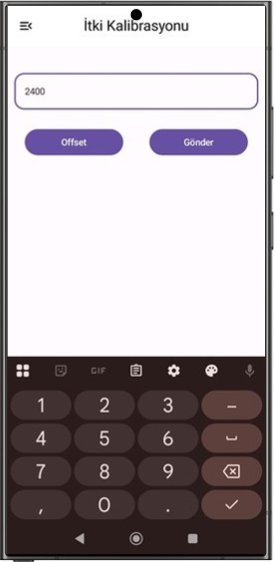
Second Weight: Next, attach a second weight . Again, enter the value of this weight in grams and press the “Submit” button .
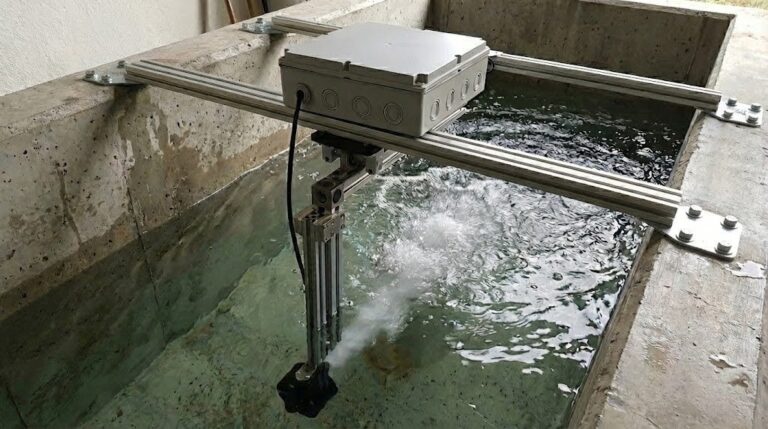
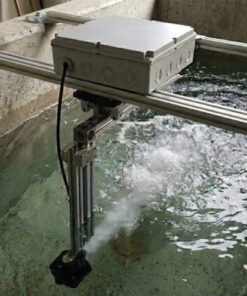
After placing the test platform in the water, let’s click the offset button again.
And our thrust calibration is complete.
Step 7
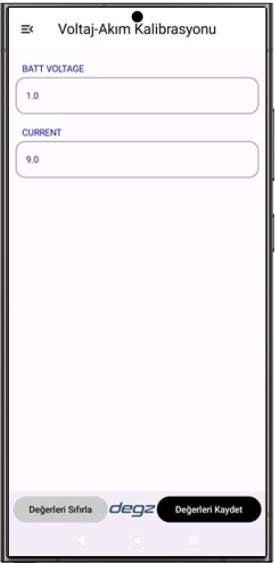
Voltage-Current Calibration
Default Values: Voltage and current factors are listed on this page. These values are already stored on your card and ensure accurate measurements.
Manual Update: However, if you think your measurements are incorrect , you can run a test using a multimeter and enter the new coefficient values that give you the correct result into the relevant field and save it.
Step 8
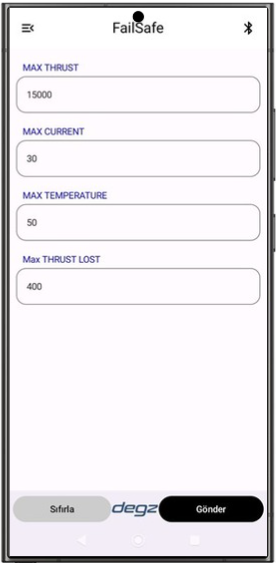
Failsafe Settings
Now let’s move on to the Failsafe screen . It is critical that you adjust the values you set on this screen according to your motor and ESC (Electronic Speed Controller).
Important Warning: Failure to set these values correctly may result in serious damage to your equipment and render it unusable.
After completing your settings, you can return to the test screen.
Step 9
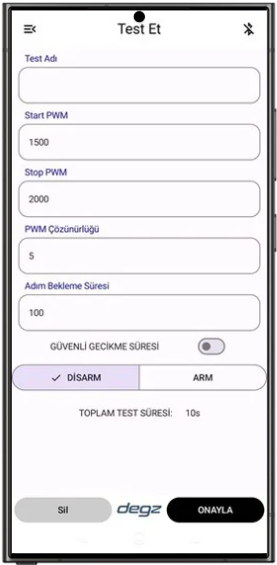
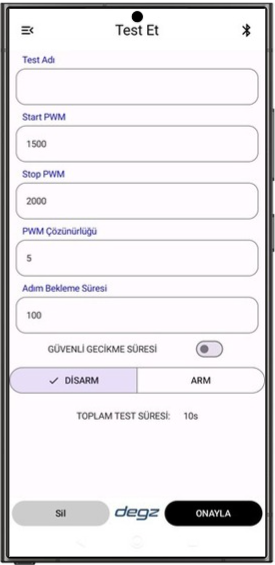
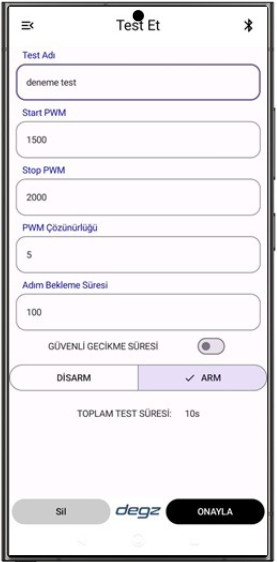
To begin the test, first enter a test name . Then, after proceeding to the “Arm” button , click the “Confirm” button to finalize the process.
Step 10
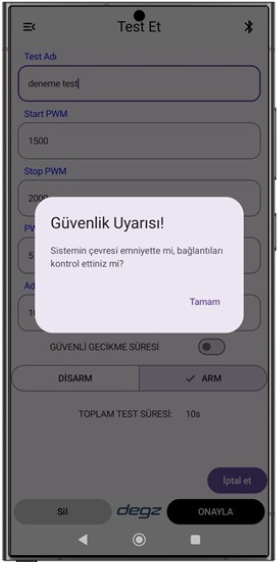
At this stage, a safety warning will appear. Before starting the test, please ensure that you have secured your surroundings and maintained a safe distance . After completing the safety precautions, you can acknowledge the warning and begin the test.
Detailed Information
| Opening Time | < 100 ms |
| Closing Time | < 50 ms |
| PWM Compatibility | 50-500 Hz |
| Processor Input | RP2040 Dual-Core |
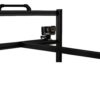
| Test Stand Body | 1 piece |
| RP2040 Control Unit | 1 piece |
| HX711 Load Cell | 1 piece |
| Input Voltage | 25V |
| Transmission Resistance | < 0.5 mΩ |
| Yield | 98%+ |
| Operating Temperature | -20°C to +85°C |
Soon
| Is calibration required before testing? | Yes, you must calibrate the kit before beginning testing to ensure the accuracy and reliability of the measurements . |
| Which parameters can I measure? | The system simultaneously measures thrust, current consumption, battery voltage, and power efficiency parameters . |
| On which platforms does the mobile application work? | The mobile application is compatible with Android 13.0+ platforms. |
| Does the product have safety systems? | Yes. Thanks to the advanced fail-safe system , the motor automatically stops in case of overcurrent, high temperature, or excessive thrust, protecting both the motor and the testing equipment. |
Reviews
There are no reviews yet.